![white-logo-db.png]](https://support.digitbridge.com/hs-fs/hubfs/white-logo-db.png?height=50&name=white-logo-db.png)
What are Terms?
Terms refer to the agreed-upon conditions under which a business sells to its customers—typically including payment timing, discounts, and credit limits (e.g., "Net 30" means payment is due 30 days after the invoice date).
In this context, "net" refers to the total amount due after any discounts and indicates when that full payment is expected.
For example, "Net 30" means the net (total) payment is due 30 days from the invoice date—regardless of when the goods were delivered or services completed.
Creating Terms
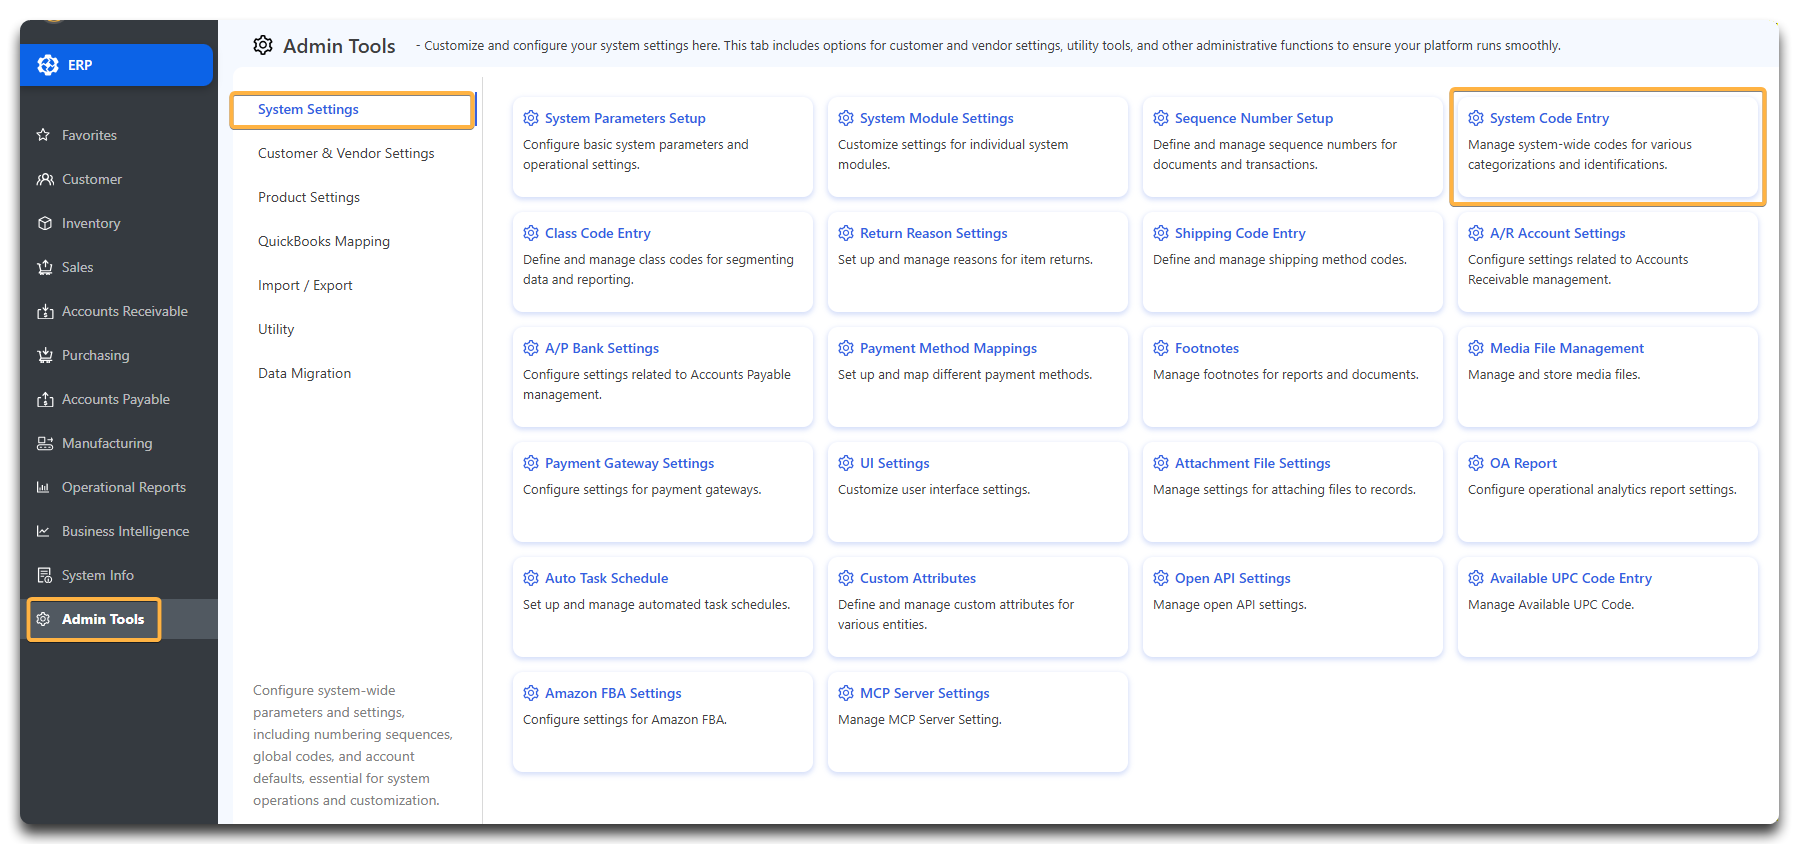
This - like the creation of any new product - will take place in ERP. In ERP, go to Admin Tools > System Settings > System Code Entry.
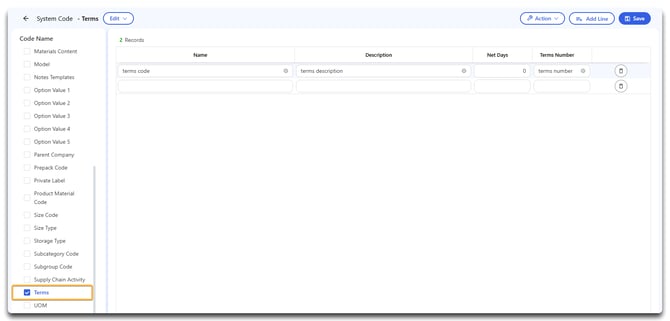
On the left, select Terms. Here, you will see your existing terms, if any.
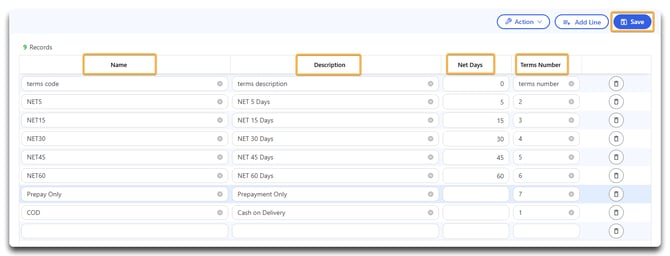
Type new terms into the empty lines. If you are entering Net Terms, make sure you include the number of days in the Net Days column. Use the Terms Number column to determine in which order they will appear in your dropdown selection. Click Save when you're done.
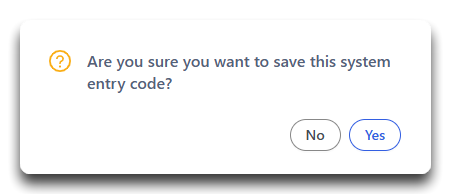
Click Yes.
Assigning Terms to a Customer
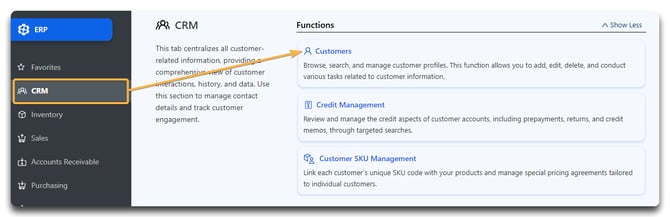
In ERP, go to CRM > Customers.
Search for your customer or click Apply to see all customers. Click the customer you wish to add terms to.

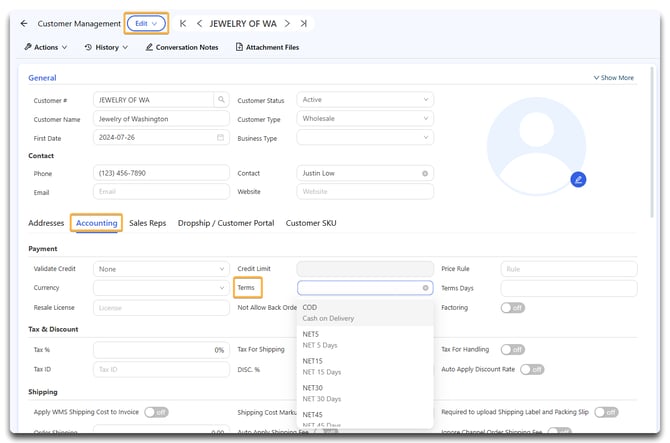
Make sure you are in Edit mode, then click on the Accounting tab. Select a term from the Terms dropdown menu. You will note that the terms are appearing in the order in which I indicated in the Terms Number column earlier on.
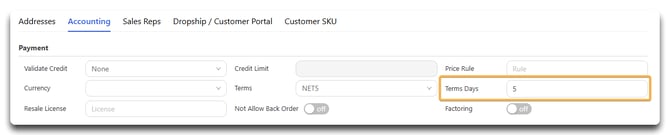
You'll also notice when you select a term with Net Days associated, that value will populate in the Terms Days field. It's important that the days are entered when creating the code - you can manually enter the days here, but it's highly recommended to add them from the start.
For more on editing customers, check out this guide.
Click Save when you're done.

Click Yes.